

Every technique on this site fixes one tell.
Pores fix plastic skin. Grain fixes the clean-render look. A named light fixes the sourceless glow. Each one, on its own, makes an image slightly more believable - and slightly isn't enough. I spent a long time adding one realism detail at a time and wondering why my images still read as generated.
Here's what changed everything: realism isn't one fix, it's a stack. Six layers, applied in order, each solving a different tell - and only when all six work together does an image cross the line from "impressive AI" to "indistinguishable from a photograph."
This is the complete realism stack - the six layers, the order they go in, the negative layer that protects them, and three full copy-paste prompts you can adapt to your product today.
Let's build the whole thing.
Why One Fix Is Never Enough
A single realism detail improves an image but doesn't complete it - because the eye catches whichever tell you didn't fix. Perfect skin texture on a flatly-lit face still reads as fake. A beautiful light with plastic skin still reads as fake. The tells have to be closed together.
The Realism Stack: A realistic image is six decisions made in sequence - intent, camera, light, surface, imperfection, and capture. Each layer fixes a different tell, and skipping one lets that tell give the whole image away. Build the stack in order and the result is an image the viewer's brain accepts as real before it thinks to question it.
Every article on this site is a deep-dive into one layer of this stack. This is the layer that assembles them.
The 6 Layers of the Realism Stack
Think of a realistic image as six decisions made in sequence. Skip one and the others can't compensate for it.
| Layer | Tells the model | Where it comes from |
|---|---|---|
| 1. Intent | It's a photograph, not a render | Photorealism triggers |
| 2. Camera | Physics are involved | Format, lens, aperture |
| 3. Light | A real source lit this | Named, physical light |
| 4. Surface | A real material is being lit | Skin, fabric, texture |
| 5. Imperfection | A real person or object exists | Blemish, frizz, wrinkle |
| 6. Capture | A real camera recorded it | Grain, grade, dynamic range |
1. Intent
Tells the model
It's a photograph, not a renderWhere it comes from
Photorealism triggers2. Camera
Tells the model
Physics are involvedWhere it comes from
Format, lens, aperture3. Light
Tells the model
A real source lit thisWhere it comes from
Named, physical light4. Surface
Tells the model
A real material is being litWhere it comes from
Skin, fabric, texture5. Imperfection
Tells the model
A real person or object existsWhere it comes from
Blemish, frizz, wrinkle6. Capture
Tells the model
A real camera recorded itWhere it comes from
Grain, grade, dynamic range
Layer 1: Photorealism Intent (The Foundation)
Tell the model what kind of output you want before you describe the subject. Without this, it has to guess whether you want a photograph, an illustration, or a render - and it often guesses wrong. This is the realism trigger from the photorealism triggers work.
ultra-realistic photography
cinematic realism, true-to-life
real-world photography, not rendered
photorealistic, lifelike details
natural imperfections, true-to-life textures
Layer 2: The Camera (Optics & Format)
Naming a camera format and lens tells the model that physics are involved - light passing through glass and hitting a sensor. This single addition shifts the output from "image" to "photograph." It's the focal length work.
shot on a full-frame DSLR, 35mm lens
mirrorless camera, 50mm lens, f/1.8
85mm portrait lens, shallow depth of field
natural bokeh, realistic focal length
cinematic film still, 35mm
Layer 3: The Light (Real-World Sources Only)
Name a specific, physical light source. No fantasy lighting, no unnamed glow - the light should be something that exists in the real world and has a specific quality.
soft morning window light from the left
golden hour backlight, warm rim on subject
overcast daylight, even diffused light
single softbox key light, gradual shadow falloff
practical interior lamp, warm ambient
Layer 4: The Surface (Skin, Fabric, Material)
Name the specific surface details that matter for the subject. These are the details that prevent the plastic-render look and signal a real physical world - the skin and micro-detail layer.
visible pores, natural skin texture
natural skin tone variation, slight redness on nose
fine flyaway strands catching the light
natural fabric folds at elbows and waist
realistic material texture, tactile surface detail
Layer 5: The Imperfection (Humanity Signals)
Add one or two deliberate imperfections that confirm a real person or object exists in the frame. These are the details AI removes by default, and you have to put them back.
one small blemish, slight under-eye circles
natural lip asymmetry, unretouched
flyaway hairs, light frizz at hairline
slight fabric wrinkle at elbow
faint laugh lines at eye corners
Layer 6: The Capture (Grain, Tone & Dynamic Range)
The final layer confirms the image was captured rather than calculated. These are the fingerprints of a real camera - the film grain and post-production work.
subtle 35mm film grain
natural color grading, muted tones
realistic contrast, highlights rolled off
shadows lifted, no crushed blacks
slight lens vignette, natural falloff
The Negative Prompt Layer
What you exclude matters as much as what you include. Add the negative baseline to any realistic prompt to fence off the defaults the six layers are fighting - the full list is in the negative prompt list.
no cartoon style, no CGI, no 3D render
no plastic skin, no airbrushing
no unrealistic lighting, no fantasy glow
no perfect symmetry, no overcleaned surfaces
no watermark, no text
The Order Matters
The layers go in sequence for a reason: each one sets up the next. Intent tells the model it's a photograph. The camera tells it physics apply. The light gives those physics something to act on. The surface gives the light something to reveal. The imperfection confirms a real thing is being lit and surfaced. The capture confirms a real camera recorded all of it.
Note
Three Ready-to-Use Full Stack Prompts
Complete prompts using all six layers plus the negatives. Swap the subject and context for your product.
For a Skincare UGC-Style Ad
Ultra-realistic photography of a woman in her early 30s applying face serum,
shot on a mirrorless camera with a 50mm lens at f/1.8, soft morning window
light from the left, visible pores and natural skin tone variation, one small
blemish on chin, flyaway hairs, natural fabric folds in her cotton t-shirt,
subtle 35mm film grain, natural color grading, muted tones, no plastic skin,
no CGI, no unrealistic lighting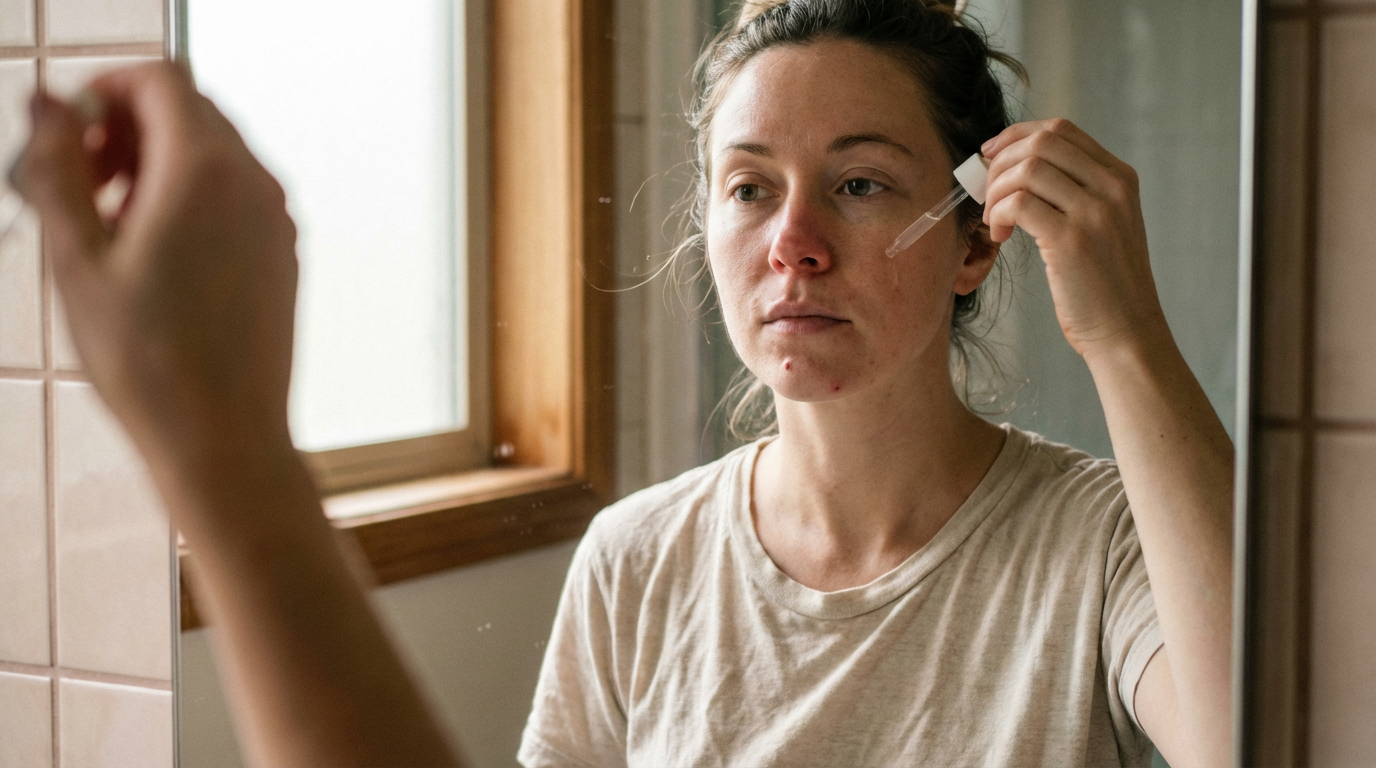
For a Fitness Lifestyle Ad
Cinematic realism, true-to-life photography of a woman with an athletic build
mid-stride running outdoors, shot on a DSLR with a 35mm lens, harsh midday sun
overhead, sweat droplets on forehead and temples, wet hairline, natural skin
tone variation, motion blur on legs and hair, realistic shadows, natural
contrast, subtle film grain, no airbrushing, no cartoon style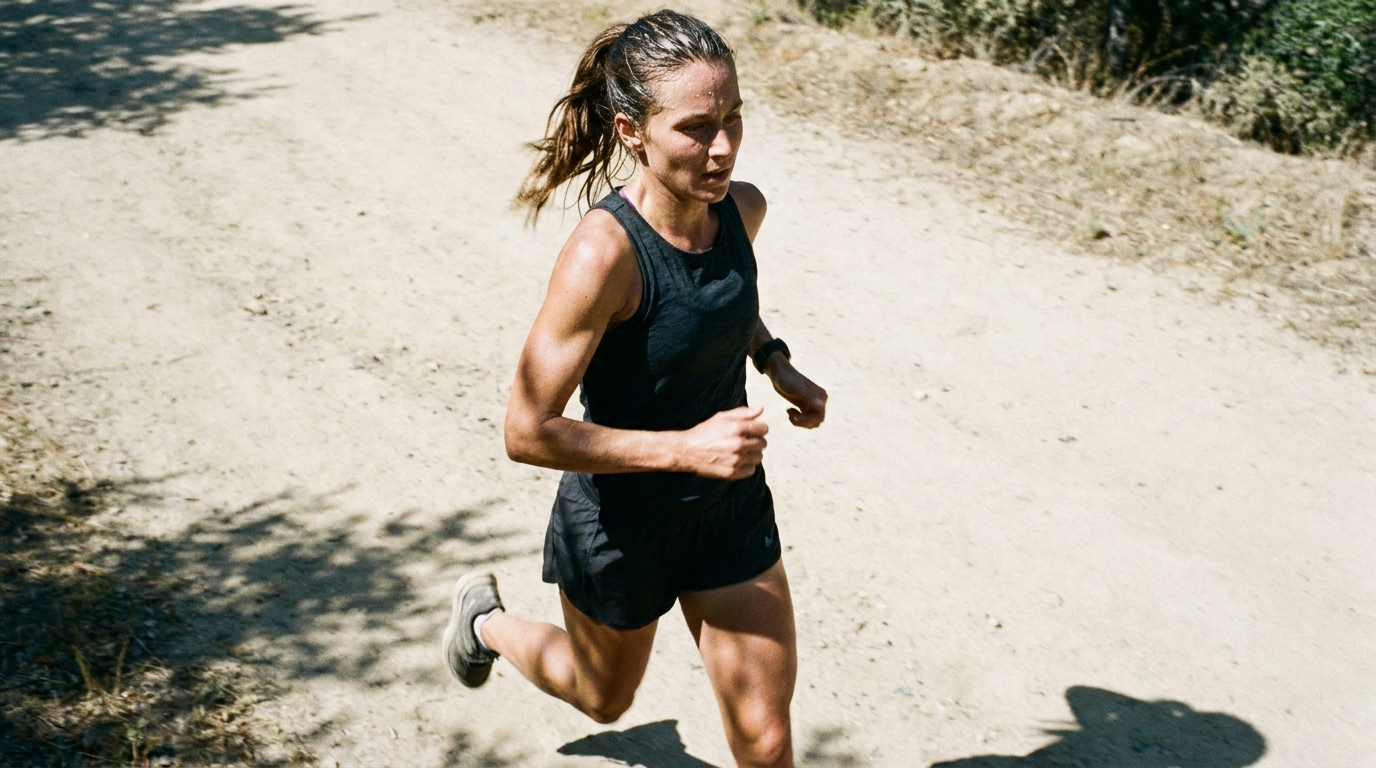
For a Premium Product E-Commerce Shot
Ultra-realistic product photography of a glass serum bottle on a white marble
surface, shot on a full-frame camera with an 85mm macro lens, single softbox
key light from upper left, realistic cast shadow matching light direction,
condensation droplets on glass, contact shadow at bottle base, natural color
grading, highlights rolled off with no clipping, subtle lens vignette, no 3D
render, no CGI, no fantasy lighting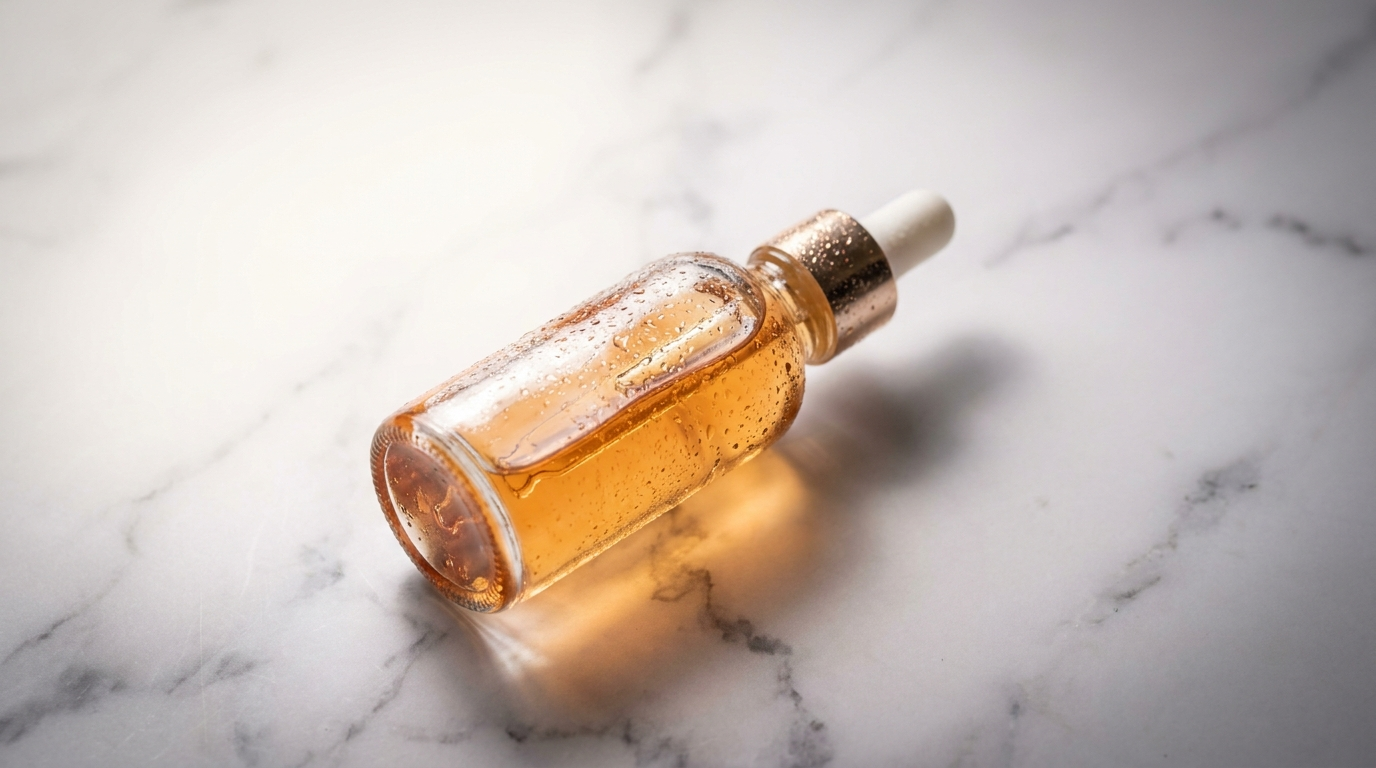
Read what's in each: all six layers, in order, plus the negative baseline. Every prompt is a complete stack - not a single clever keyword, but the whole sequence working together.
Conclusion: Stack the Layers, Don't Chase the Keyword
Four to lock in:
1. Realism is a stack, not a keyword. One detail helps a little. Six layers, in order, make the image indistinguishable from a photo. Stop hunting for the one magic word.
2. Build in sequence. Intent → camera → light → surface → imperfection → capture. Each layer sets up the next, so the order isn't optional.
3. The negatives protect the stack. Everything you build in the six layers, the model will try to undo with its defaults. The negative baseline fences them off.
4. Every article on this site is one layer. When an image still reads as fake, diagnose which layer is missing - then go deep on that one and add it back.
The rule of thumb that closes the course: one realism layer makes an image slightly better. Six layers working together make it indistinguishable from a photograph. Build the stack in order - intent, camera, light, surface, imperfection, capture - and the result is an image the viewer's brain files as real before it has time to question it.
So the move: take your best "almost real but not quite" image and run it through the six layers as a checklist. Find the one you skipped - my bet is it's the light or the imperfection - and add it back. That one missing layer is almost always the difference between an image that reads as AI and one that reads as a photograph.
Steal my ad concept & hook library
Every prompt, archetype, and hook I use in my own accounts. Updated weekly.
Join the free Skool community